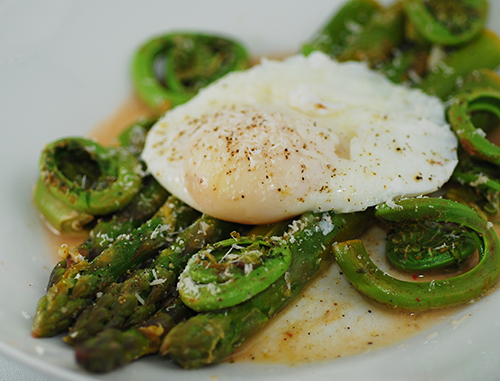
So here it is guys, the first ever Daring Cooks Challenge! This one was exciting because I was finally pushed to make fresh ricotta. And you know what; it was one of the easiest and fastest foods I have ever made. I poo poo on those $6.95 tubs of glue like cheese now. Seriously, all you need is a 2L carton of whole milk, a 1 cup carton of cream, 1 lemon, a splash of vinegar, and a pinch of salt. Presto, in five minutes you have ricotta.
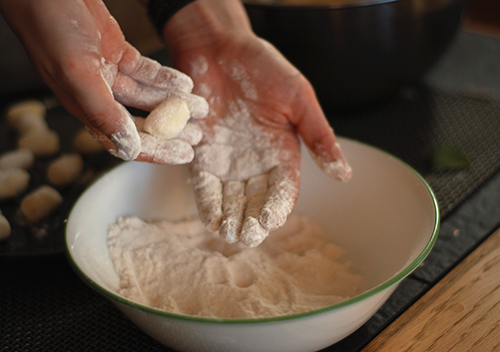
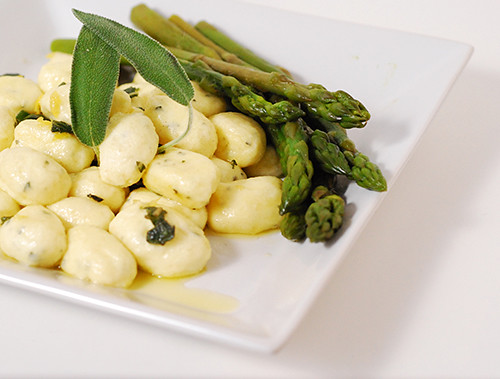
The gnocchi on the other hand was long and intensive. As you can tell the main ingredient is ricotta and these are not the normal potato gnocchi that we all love. These little buggers are each hand rolled with (decreasing) love; each dipped individually in flour, and cooked in small batches.
Even though the gnocchi took a day to make, the taste was sensational and we ate them all in one sitting. They were so soft and fluffy, and every time you bit into one it would burst delicious ricotta into your mouth. I have never had anything like these and I would encourage everyone to try ricotta gnocchi at least once in your life. Just don't ask me to roll them; you’re out of luck there.
 Zuni Ricotta Gnocchi adapted from The Zuni Café Cookbook. Makes 40 to 48 gnocchi (serves 4 to 6)Prep time: Step 1 will take 24 hours. Steps 2 through 4 will take approximately 1 hour.(lies)For the ricotta:
2L whole milk
1 cup cream
1/2 teaspoon salt
2 tbsp fresh lemon juice
1-1/2 tbsp. vinegar
For the gnocchi:1 pound fresh ricotta (2 cups)
2 large cold eggs, lightly beaten
1 tablespoon (1/2 ounce) unsalted butter
2 or 3 fresh sage leaves, or a few pinches of freshly grated nutmeg
½ ounce Parmigiano-Reggiano, grated (about ¼ cup very lightly packed)
about ¼ teaspoon salt (a little more if using kosher salt)
all-purpose flour for forming the gnocchi
For the gnocchi sauce:6 tbsp butter, sliced
2 tbsp olive oil
Zest of 1 lemon
10 Sage leaves, chopped
Salt, pepper
Tips: - If you can find it, use fresh ricotta. As Judy Rodgers advises in her recipe, there is no substitute for fresh ricotta. It may be a bit more expensive, but it's worth it.
- Do not skip the draining step. Even if the fresh ricotta doesn't look very wet, it is. Draining the ricotta will help your gnocchi tremendously.
- When shaping your gnocchi, resist the urge to over handle them. It's okay if they look a bit wrinkled or if they're not perfectly smooth.
Step 1: Making and Preparing the ricottaLine a large sieve with a layer of heavy-duty (fine-mesh) cheesecloth and place it over a large bowl. Slowly bring milk, cream, and salt to a boil in a pot over medium heat, stirring occasionally to prevent scorching. Add lemon juice and vinegar, then reduce heat to low and simmer, stirring once half way through, until the mixture curdles, about 2-4 minutes.Pour the mixture into the lined sieve and let it drain for 1 hour. After discarding the liquid, chill the ricotta, covered; it will keep in the refrigerator 2 days.
If the ricotta is too wet, your gnocchi will not form properly. To remove some of the moisture, line a sieve with cheesecloth or paper towels and place the ricotta in the sieve. Cover it and let it drain for at least 8 hours and up to 24 hours in the refrigerator. It’s recommended that you do this step the day before you plan on making the gnocchi.
Step 2: Making the gnocchi dough.To make great gnocchi, the ricotta has to be fairly smooth. Place the drained ricotta in a large bowl and mash it as best as you can with a rubber spatula or a large spoon (it’s best to use a utensil with some flexibility here). As you mash the ricotta, if you noticed that you can still see curds, then press the ricotta through a strainer to smooth it out as much as possible.
Add the lightly beaten eggs to the mashed ricotta. Melt the tablespoon of butter. As it melts, add in the sage and nutmeg. Then add it all to the ricotta mixture. Add the Parmigiano-Reggiano and the salt. Beat all the ingredients together very well. You should end up with a soft and fluffy batter with no streaks (everything should be mixed in very well).
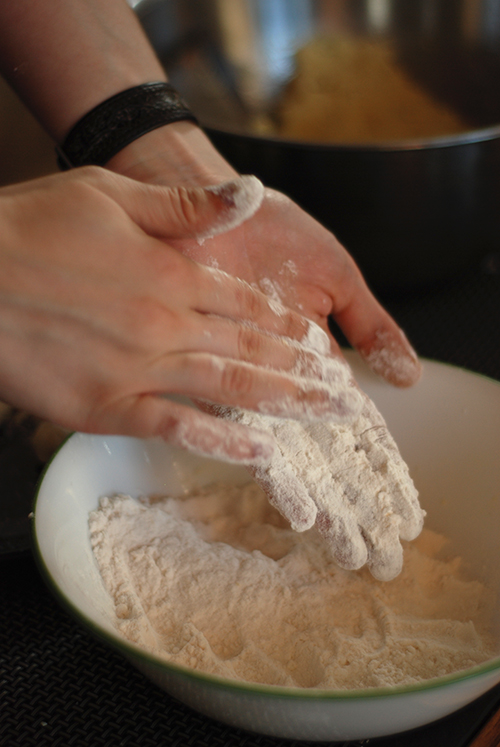
Step 3: Forming the gnocchiIn a large, shallow baking dish or on a sheet pan, make a bed of all-purpose flour that’s ½ an inch deep.With a spatula, scrape the ricotta mixture away from the sides of the bowl and form a large mass in the centre of your bowl.Scoop up about 1 teaspoon of batter and then gently roll into a log and toss into the bed of flour. Use your fingers to very gently dust the gnocchi with flour. Gently pick up the gnocchi and cradle it in your hand rolling it to form it in an oval as best as you can, at no point should you squeeze it.
Step 4: Cooking the gnocchi.Have a large skillet ready to go. Melt the butter and oil for the sauce in the skillet and set aside. In the largest pan or pot that you have, bring at least 2 quarts of water to a boil. You need a wide pot or pan so that your gnocchi won’t bump into each other and damage each other. Once the water is boiling, salt it generously.Drop the gnocchi into the water one by one. They will sink and then bob to the top. From the time that it bobs to the surface, you want to cook the gnocchi until it’s just firm. This could take 3 to 5 minutes.If your gnocchi begins to fall apart, this means that the ricotta cheese was probably still too wet. You can remedy this by beating a teaspoon of egg white into your gnocchi batter. If your gnocchi batter was fluffy but the sample comes out heavy, add a teaspoon of beaten egg to the batter and beat that in.
When the gnocchi float to the top, you can start your sauce while you wait for them to finish cooking. Place the skillet over the heat again. Add the lemon zest, sage, salt and pepper. With a slotted spoon, remove the gnocchi from the boiling water and gently drop into the butter sauce. Carefully roll in the sauce until coated. Serve immediately.